To change the blade on a Ryobi table saw, first unplug the saw. Next, raise the blade to its highest position and loosen the arbor nut with a wrench. Remove the old blade and clean off any debris from the arbor.
Install the new blade onto the arbor and tighten the arbor nut. Lower the blade and make sure it is secure before plugging in the saw and using it again.
- Unplug the Ryobi table saw from the power outlet
- Loosen the blade arbor nut with a wrench or socket set, depending on the model of your Ryobi table saw
- Raise the blade guard and remove the old blade from the arbor shaft
- Carefully install the new blade onto the arbor, making sure that it is installed correctly and tightened securely
- Lower the blade guard back into place and plug in the table saw to test it out before beginning any projects
How to Replace a Ryobi Table Saw Blade
Ryobi Table Saw Blade Change Tool
If you’ve ever had to change the blade on a Ryobi table saw, you know it can be a bit of a pain. The Ryobi Table Saw Blade Change Tool makes it much easier and faster to change blades. This convenient tool attaches to the arbor nut, making it easy to loosen and tighten the blade without having to remove the entire guard assembly.
It also has a built-in ruler so you can easily measure the blade’s kerf.
Credit: ryobitools.com
How Do You Put a Blade Guard on a Ryobi 10 Table Saw?
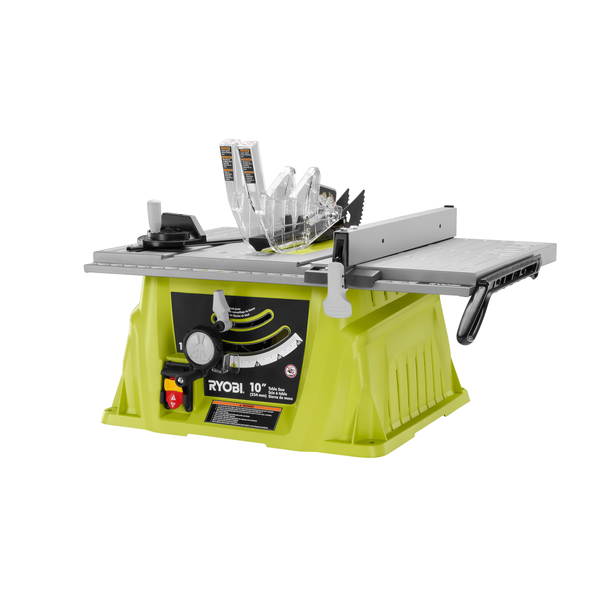
Assuming you are referring to the Ryobi 10″ Table Saw with Folding Stand (model number RTS10G), the blade guard assembly is actually quite simple to install. First, make sure the fence is in the fully retracted position and that the blade is at its lowest setting. Next, take the blade guard support bracket and place it on top of the table saw so that the two holes on the bracket line up with the two holes on the front of the table saw’s housing.
Once aligned, insert a bolt through each hole and secure with a washer and nut (hand-tighten only).
Now take the U-shaped clear plastic shield and slide it onto the support bracket so that the open end of the “U” faces towards the rear ofthe saw. Be sure to align all three notches onthe shield withthe corresponding tabs onthe support bracket – this will ensure proper ventilation while also keeping debris from entering into The motor area.
Finally, use a Phillips head screwdriver to tighten/loosen The two screws located at The top ofThe blade guard as needed untilThe guard sits snug againstThe spinning blade (but does not impede its rotation).
How Do I Change the Blade on My Table Saw?
Assuming you’re referring to a contractor style table saw:
First, unplug the saw. You don’t want to accidentally turn it on while changing the blade.
Next, raise the blade to its highest position. Then, loosen the arbor nut with a wrench or socket – be sure to use one that fits snugly so you don’t damage the threads. Some nuts have a left-hand thread, so be sure to check which way to turn it before loosening.
With the nut loose, you should now be able to remove the old blade.
Now it’s time to install the new blade. Start by making sure it’s installed in the correct direction – teeth pointing down.
Then tighten the arbor nut until it’s snug – again, being careful not to over-tighten and damage the threads. Once everything is tight and secure, you can plug your saw back in and give it a test run!
How Do You Remove the Blade Guard on a Ryobi Table Saw?
Most Ryobi table saws come with a blade guard that can be attached or removed depending on your needs. To remove the blade guard, first make sure that the saw is unplugged and the blade has stopped spinning. Then, use a Phillips head screwdriver to remove the two screws that hold the guard in place.
Once the screws are removed, you should be able to pull the guard off of the saw easily. If you have any difficulty removing the guard, consult your Ryobi table saw manual for further instructions.
How Do You Take Apart a Ryobi Table Saw?
If you need to take apart your Ryobi table saw for any reason, follow these steps. With a few tools and some patience, you can easily disassemble the saw.
First, unplug the saw from its power source.
Then, remove the blade guard by unscrewing the two screws that hold it in place. Next, remove the throat plate by loosening the four screws that hold it in place.
Now you can access the inner workings of the saw.
To remove the motor, first disconnect it from its power source and then unscrew the four bolts that hold it in place. The arbor assembly is next – simply unscrew the nut that holds it in place and then pull it out.
The last step is to remove the table itself.
There are four bolts holding it in place – two at the front and two at the back. Once these are removed, you can lift off the table top and access whatever parts you need to repair or replace.
Conclusion
If you’re a Ryobi table saw user, you know that taking care of your blades is important to the longevity and performance of your saw. Over time, blades can become dull or damaged, and when this happens, it’s time to change them out. Fortunately, changing the blade on a Ryobi table saw is a relatively easy process that anyone can do.
In this blog post, we’ll walk you through the steps of how to change a blade on a Ryobi table saw, so you can get back to cutting with confidence.